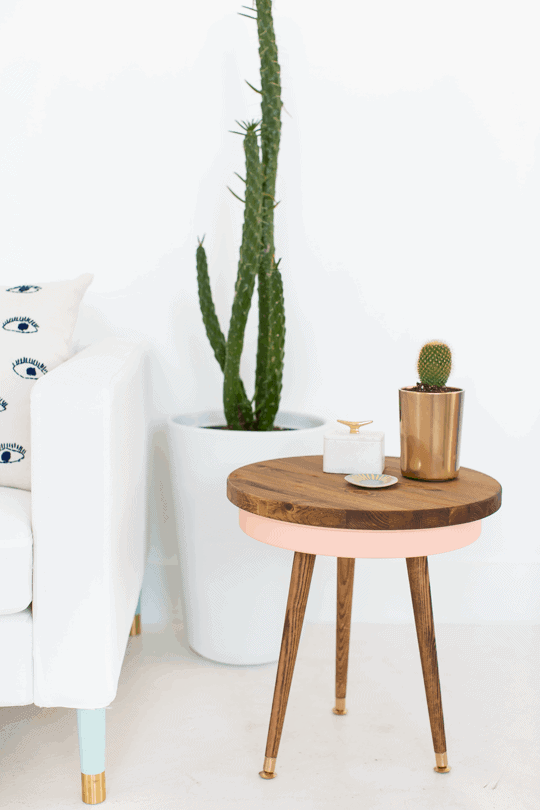
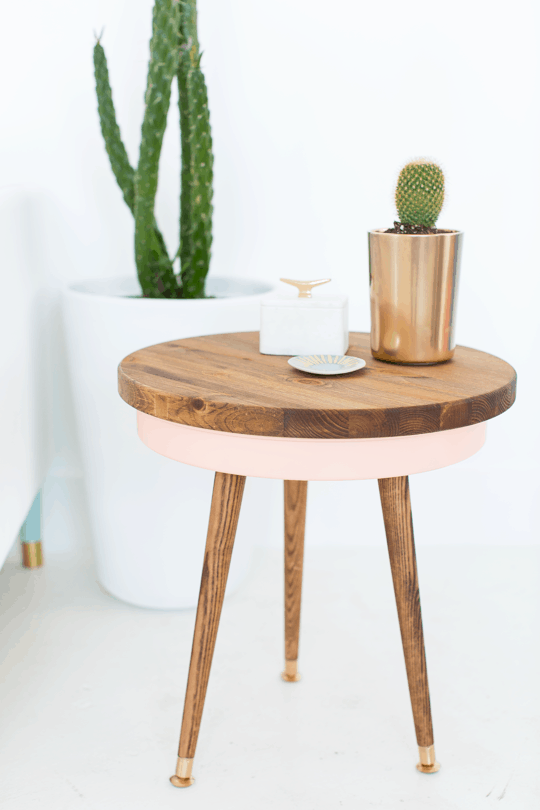
I really wasn’t messing around when I told you I was currently obsessed with all things mid century. If someone doesn’t stop intervene soon, I might start making pet furniture with tapered wooden legs and watching the Brady Bunch before bed every night, while sipping tea our of a starburst cup or something. At least if I get that desperate I’ll have this DIY Mid Century Side Table to house my remote and iPhone (for incessant photo taking that will obviously commence, of course). Who makes a cat bed with tapered legs and then fails to pimp it all over the internet with iPhone photos? Not me!
Speaking of which (about the mid century vibes, not the cats), we just spent the weekend in Austin for a friend’s wedding and visited some of the cutest places. I tell ya, that city knows how to design to draw crowds. I’ve never been so willing to wait 45 minutes for brunch in my life, partly from the smell of french toast, but mostly because I was running around like a moth to a flame trying to perform a serious iPhone-ography photo shoot in the middle of this place. Anyways, more on that later this week because for now, we DIY!…
Materials
16×2″ Cake pan (you can use a deeper or wider pan for a larger end table, just be sure it’s heavy so that the end table isn’t wobbly from being too light!)
18″ Round wooden circle (can be larger or smaller for different sized table, but must be at least 2″ larger than the pan)
Foam brush
Pen
Montana Gold spray paint in Shrimp Pastel (for the cake pan/storage base color)
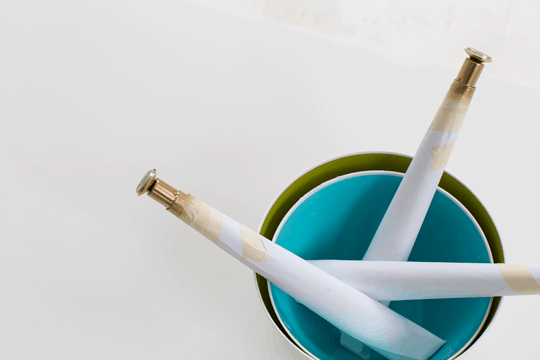
First, prep the wooden top and legs by staining the unfinished wood the color of your choice with wood stain and a foam brush. Once the stain is dry on the legs, tape off the wood to spray paint the feet gold (optional).
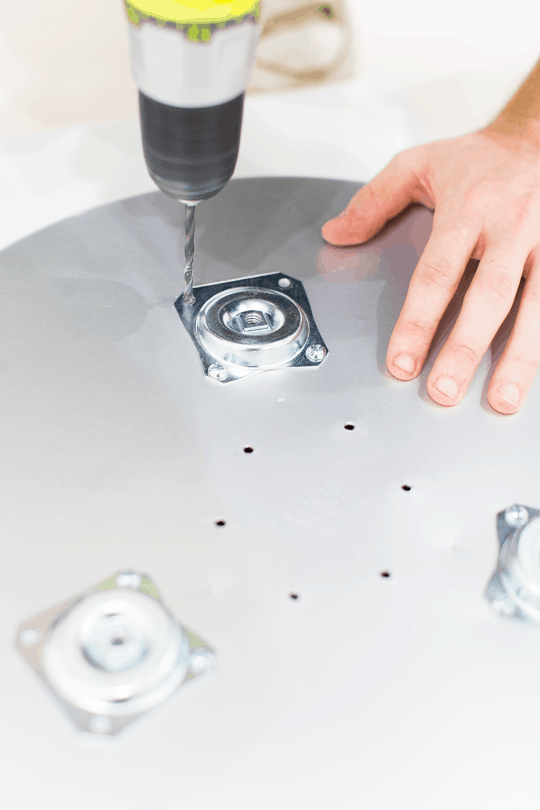
While that’s drying, place the cake pan upside down and lay the angle plates where you want the legs to be positioned and mark with a pen. We made the mistake of putting the legs too close together originally (hence the extra screw holes!) which made the end table seem unsteady, so be sure they’re far enough towards the edges of the table so that it isn’t rickety and unstable when it’s built. Use the drill and 11/64″ drill bit to drill holes for each of the four corners on every plate.
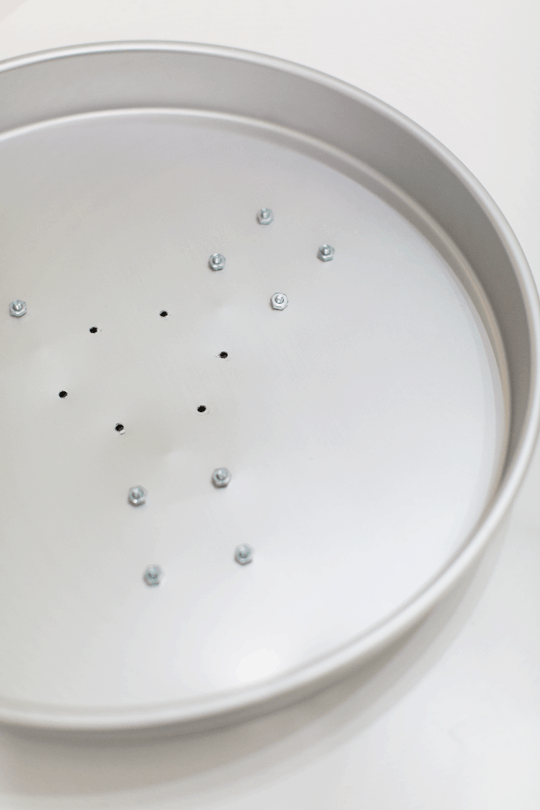
Attach the plates to the pan with the nut and bolts in all corners. The reason for the flat bolts instead of screws is so that there are no sharp edges when the storage pan is being used.
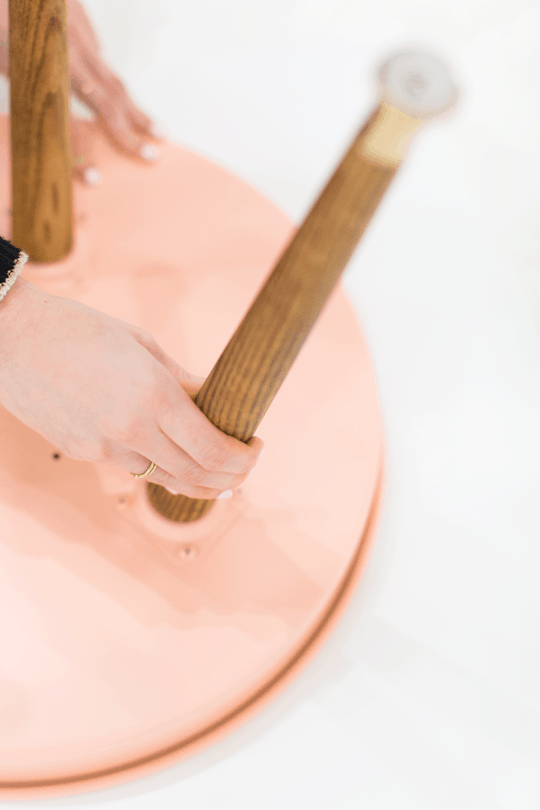
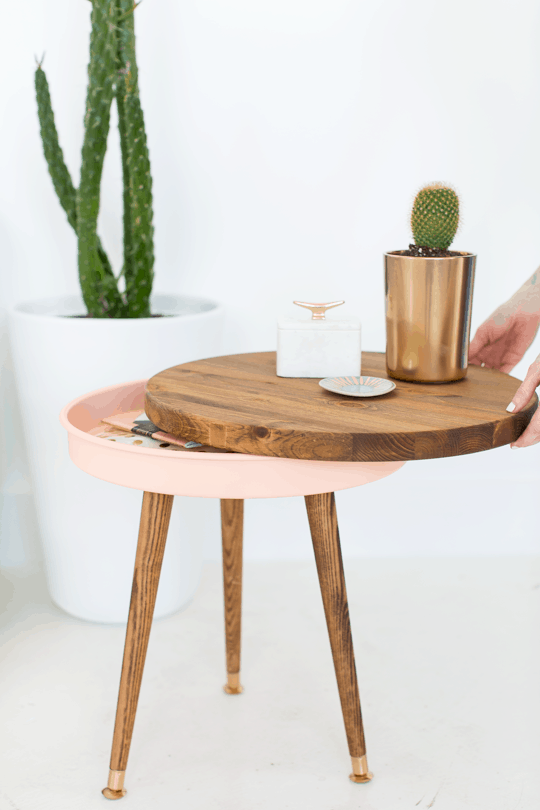
Once the plates are attached, spray paint the entire pan and plates the color of your choice and let dry completely. Once it’s dry, screw the tapered legs into the the plates, and flip it upside down. The top of the end table will just rest on the storage.
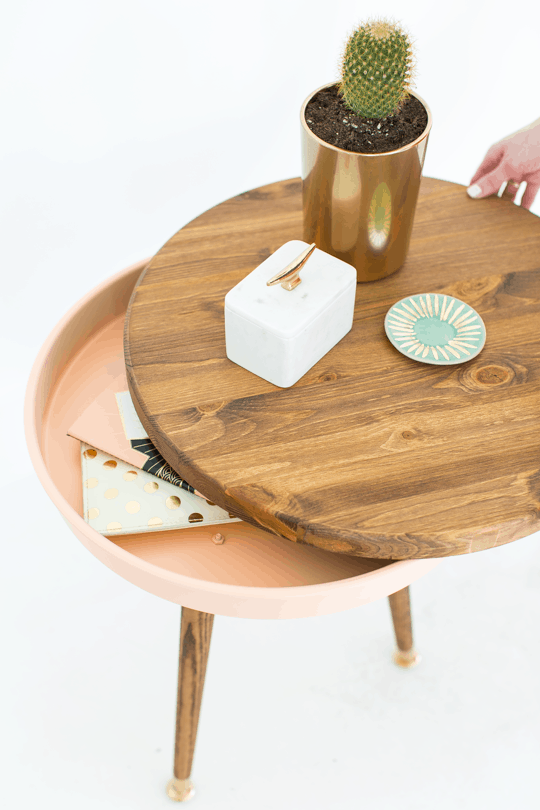
The inside storage is just big enough for remotes, magazines, or notebooks and pens with the 2″ height, but you can use a different sized pan for depth or width if you’d like! Just be sure to adjust the placement or the table legs to be far enough apart so that they hold the weight of the top evenly.
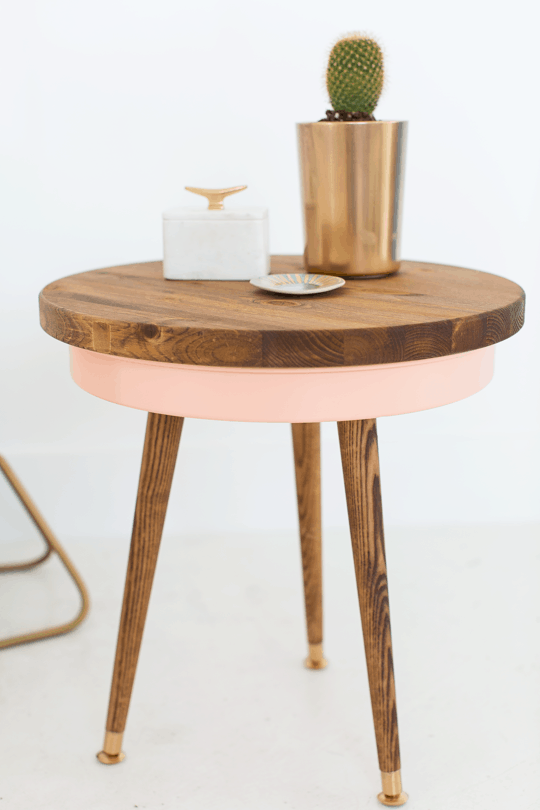
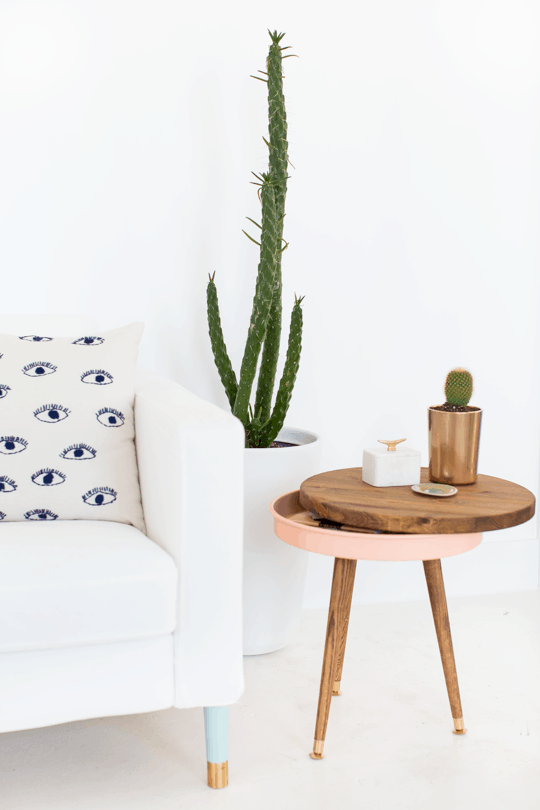
This is definitely a simple enough project for a last minute weekend DIY on a rainy day, and they’re plenty budget friendly for one on each side. I even love the idea of painting them different colors for a punch of color in a space! Think this is a project you’ll be making for your mid century love affair?!
This post was created in partnership with Lowe’s as part of our studio renovation series. See the rest of the studio before, afters, and DIY’s here.
Check out these other awesome posts!
Original article and pictures take sugarandcloth.com site
Комментариев нет:
Отправить комментарий